 Counterpunch
Glyph editor
The Editor view is where visual decisions happen point by point. The useful rhythm is inspect, adjust, compare. Start with small, reversible changes so you can see how a contour behaves before you take on interpolation or components.
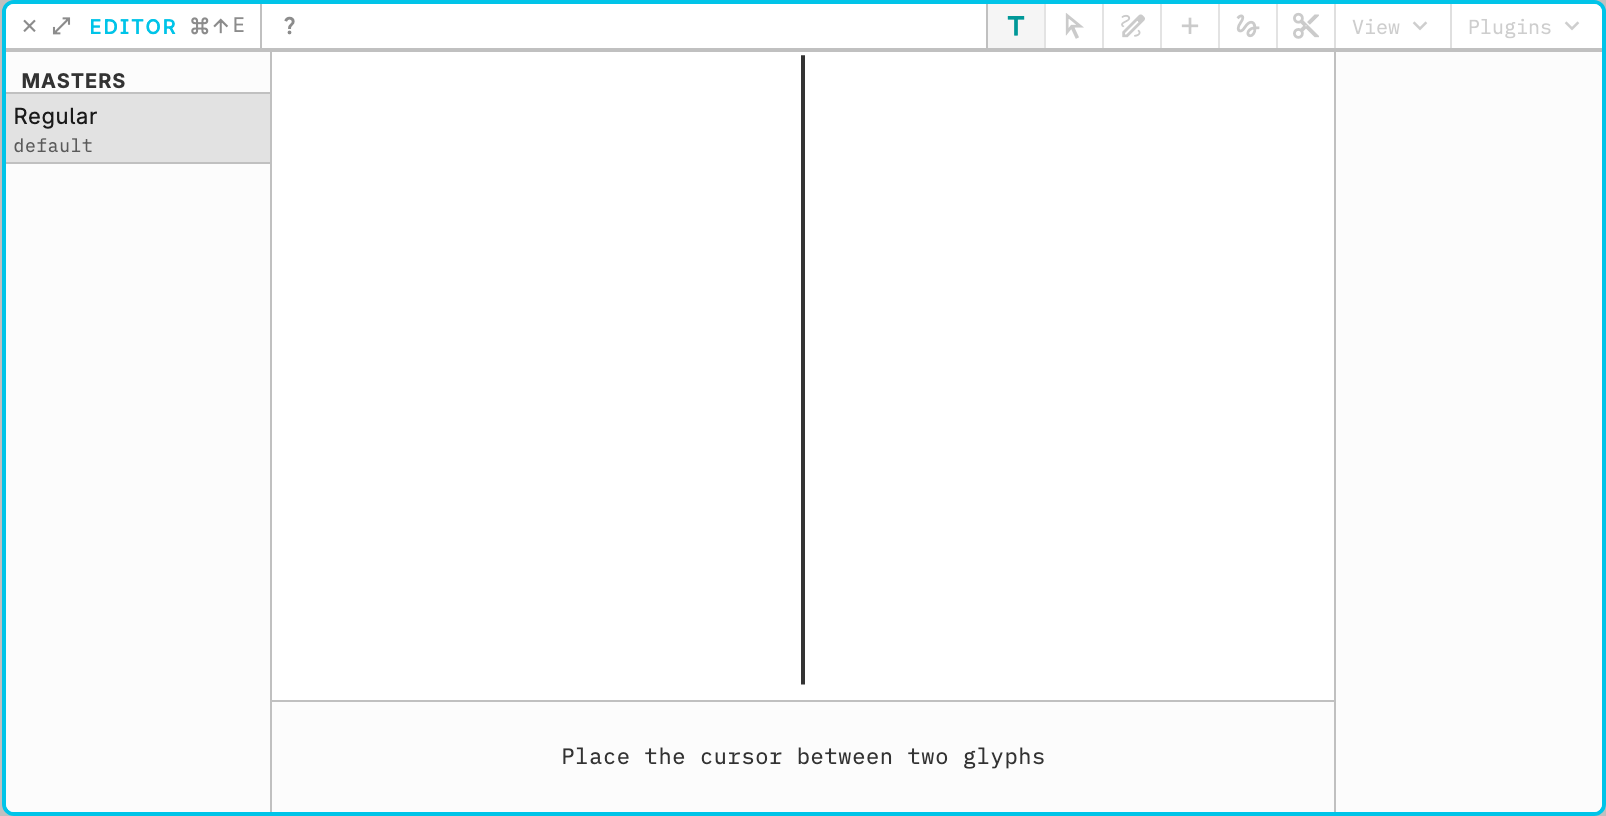
Open a simple glyph such as H or O. Click a point, move it a little, and watch the outline. Check sidebearings and overall balance. Undo if the change is too far.
Hold Tab to see sidebearings and other distances without leaving the canvas. In text mode Tab is this overlay, not a tab character. Enter inserts a line break. Arrow Up/Down move the caret by line; Home/End are line edges (Cmd/Ctrl+Home/Cmd/Ctrl+End for the whole run). Line height, point size, and left/center/right alignment sit in the Editing View title bar, left of the tool strip (spacing, type-size, and align icons). 100% line height is one em (upm). Point size is the current on-screen size in printer points and tracks zoom; type a size to zoom the canvas. The ruler button opens a screen-calibration modal (optional; default assumes 96 CSS px = 1 in). Cmd/Ctrl+0 is two-stage zoom-to-fit: in outline mode the first press frames the glyph with extra margin (max 250%), and a second press with unchanged pan/zoom shows a 25% line overview. In text mode the first press is that line overview and the second fits the whole run. Zoom out for the whole glyph, then in for a single curve. Save after a change you want to keep.
Outline tools are in Outline drawing. Component placement is in Automatic composition. Interpolation is in Axes and masters. Editor shortcuts are listed under Keyboard shortcuts.